Photoshop 5.5 tutorial by The TladyIncluding
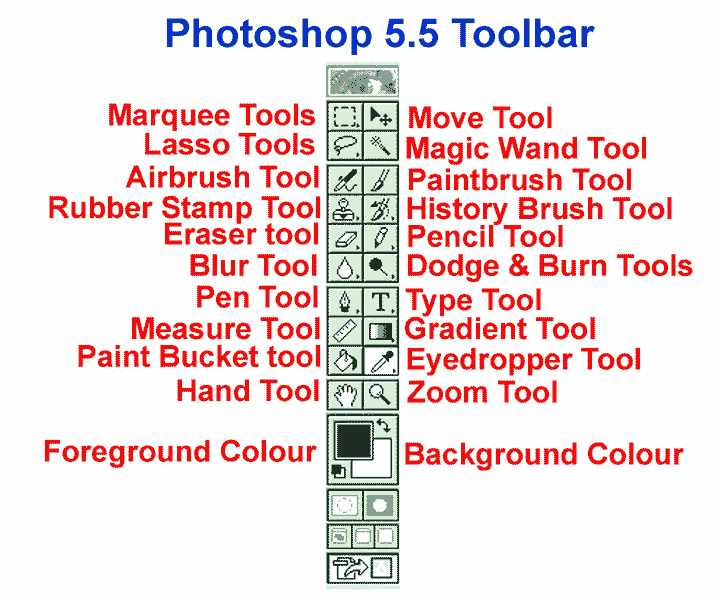
Toolbar with tools named for quick reference
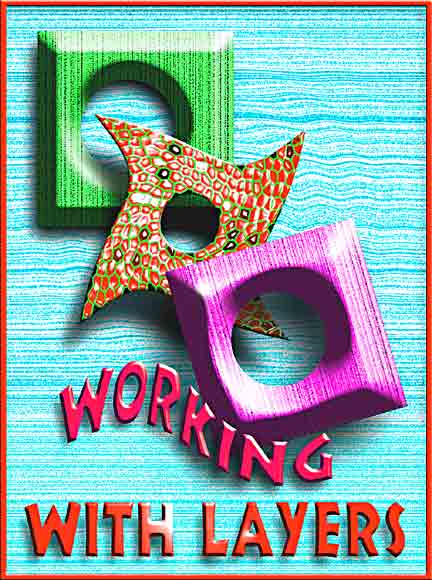
|
Working
with Layers
|
Assignment:
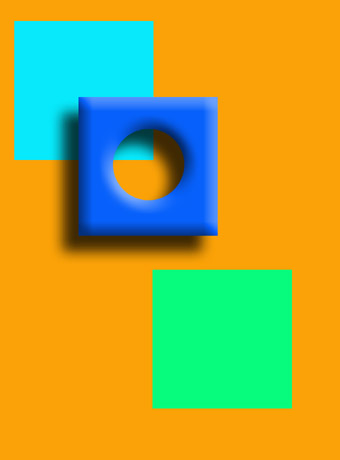
Create a multiple layer image with a range
of Filters and Layer Effects applied to each. Save the layered image as
a Photoshop file (.psd), then flatten it and save it again as a .jpg
file for printing. |
First
prepare your working space by
going to the Menu Bar and clicking Window>Show Tools, Show
History, Show Layers, Show Options. Drag these into
position as shown. |
Open a new Canvas (File>New), 17cm wide and 23cm high. Set the resolution to 144 pixels/inch (not/cm!), Mode: RGB, White or Transparent for the background. |
Then
go to View and click Show Rulers. Double click on the Hand
tool so your canvas fits the workspace. Now we are ready! |
|
Click
on the Foreground colour box and select a bright orange. Click Edit>Fill,
choose Foreground Colour, OK. |
|
Use
the Rectangular marquee tool, holding down the Shift key,
to select a square. Click Edit>Copy, Edit>Paste.
This creates a new layer with your square on it. Look at the Layers
palette and you will see both your Background layer and your new layer. |
|
With the new layer selected in the Layers palette, click Image>Adjust>Hue/Saturation and use the Hue slider to change the colour of the square. Paste two more squares and change their colours. Use the Move tool to spread them out. You can name these layers in the Layer options if you wish. |
|
Now for some Layer effects |
Select one of the squares in the Layers palette and click Layer>Effects. Apply Drop Shadow and Bevel & Emboss, using the sliders to vary the effect. Using the Elliptical marquee tool while holding down Shift, select a small circle from the square and click Edit>Clear – and Hey! You have cut a hole in it! Notice how the layer effects are applied to the hole’s edges too. Click Select>Deselect to release the selection, (or click somewhere on the image.) |
Using Filters |
Leave
the other squares for the time being and select the Background layer in
the Layers palette. Click Filter>Texture>Grain. Choose Horizontal
and use the sliders to achieve a woodgrain effect. Use Filter>Distort>Zig-zag
to make the grain wavy. Decide on whether you want a woody effect or a
watery effect for the background, if the latter, click Image>Adjust>Invert.
Now use Image>Adjust>Hue/Saturation, and Brightness/Contrast
to fine tune the colouring of the background. |
Now
lets go back to the small square and apply the same grain, but choose Vertical;
this time. Adjust the colour so it is a good contrast with the
background. |
On
to the second square! Apply Layer effects as before and cut
two holes in it. Then click to release the selection (or
Select>Deselect) |
Click
Filter>Texture>Stained Glass, OK. |
Filter>Artistic>Plastic
Wrap, OK. |
Filter>Distort>Twirl
(not too far!) |
Then
click Edit>Free Transform. Notice the 'handles' that appear.
Move your mouse just outside a corner handle until a double-ended curved
arrow appears. Now you can tilt the square by holding down the
mouse button and moving it a little. |
For the third box, apply Layer effects as before and experiment with Filters to achieve an interesting effect. Experiment with the variations you can achieve using Filter>Fade filter after applying one. |
Adding
Text in Photoshop 5.5 |
|
Start by clicking on the foreground Colour box and choose a colour for your text. Click on the Text icon (T) in the Toolbar, then click on the image. You will see that this automatically creates a new layer. Start typing in the Text box, then highlight the text and try different fonts, sizes and colours. (You can reposition the text on the image with the Move tool whilst doing this.) Click on Layer>Effects and apply Bevel & Emboss and Drop Shadow as for the other layers. To change the colours or contrast of the type layer, you must first render the type layer: Layer>Type>Render Layer. Now you can use Image>Adjust>Hue &Saturation etc in the normal way. |
|
Saving
and File format
|
|
Each
layer can be altered, moved, distorted and manipulated independently
until you flatten the image. Before you do that, ensure that each layer
is sharp enough (Filter>Sharpen>Unsharp mask), and the
right colour. Check all your layer effects are as you want them (eg the
shadow opacity, distance, depth and angle). |
|
Once happy with the result, save the layered file as a .psd file. Click File>Save As, select PSD, name the file, OK. Now click Layer>Flatten image. Look in the Layers palette – just one layer! We will save this as a .jpg file ready for printing. Click File>Save As, select JPG, move the slider until the file size is acceptable (200-250k), Save. |
|
Here's a sequence showing the stages |
|
|
|
Two examples of images created using this tutorial |
|
© L.King 2002 |
|